
How to Embed a Stripe Payment Button in Shopify
It's easy to create and embed a Stripe payment button into your Shopify website, just follow these steps:
1.) In Paid Members App, click Setup Checklist

2.) Connect to Stripe if you have not done so yet.

3.) Click 'Create payment buttons'

4.) Click either One-time Payment or Subscription

5.) Click either Legacy Payment Button or New Checkout Button

6.) Fill in your button details and choose the Stripe plan for which you want to make a payment button. If you don't see all your plans, click the 'Sync w/ Stripe' button to pull in your updated plans. *You may see the word "SKU" or "Plan" or "Price" depending on which type of button you are making.

7.) If you do not yet have a Stripe plan, click '+ New Plan' to create a new plan. This will generate a new plan in your Stripe account too. Amazing! *You may see the word "SKU" or "Plan" or "Price" depending on which type of button you are making.

8.) Click 'Create Button'
9.) Click 'Copy to Clipboard'

10.) Make sure you are logged into your Shopify editor.
11.) Click 'Online Store' in the left side navigation menu:

12.) Click 'Pages' on the left:

13.) Find the page you want to add the popup button to and click it or, create a new page, save it and the click on it.

14.) Click the 'Show HTML' icon:

15.) Paste in the code:
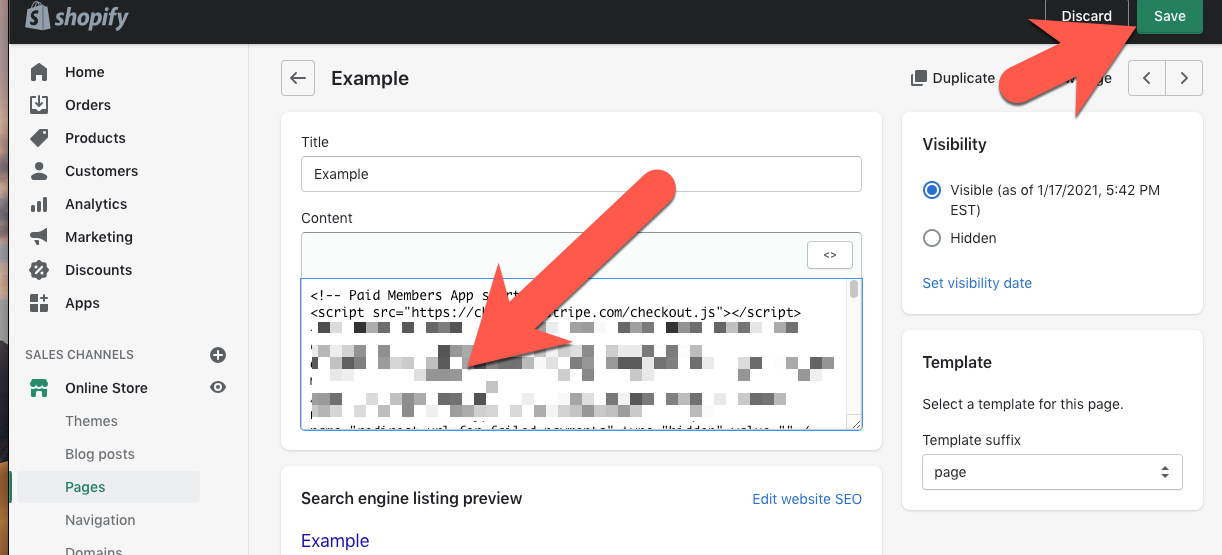
16.) On your published page you will have a Stripe button. If you used our original Stripe payment button, it will pop up on your website. If you chose Stripe's Checkout button, it will redirect your customer to Stripe for payment.

